Fermented Veggies Recipe
March 21, 2017
Fermented veggies are loaded with probiotics which support your digestive system, immune health, mental health & more. Here is a simple recipe to make your own at home!
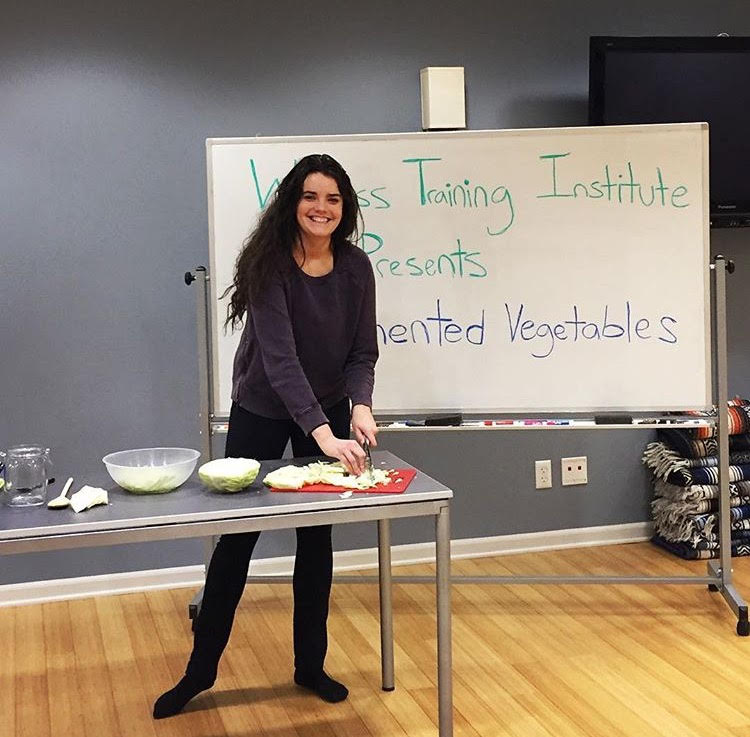
What you will need:
– 1 wide mouth glass or ceramic jar (something like a mason jar would work) *never use anything metal when fermenting
– A plastic or rubber lined lid, if you do not have either of those you can use a towel to cover your jar, with a rubber band wrapped around the top to seal it.
– ½ teaspoon of Himalayan pink salt or Celtic sea salt
– Enough veggies to fill up a wide mouth quart jar – cabbage is a good base to use because it is easy to massage out the liquid brine in it, but any vegetable will work: carrots, squash, zucchini, radishes, collard greens, broccoli, cauliflower, kale, etc.
Directions:
– Before you begin, make sure to wash the vegetables, and any surfaces / appliances you will be using to eliminate any harmful bacteria.
– Cut/Shred the veggies into tiny pieces, or grate harder veggies such as carrots or radishes. For cabbage, quarter the head then remove the core first.
– After cutting/shredding the veggies, place them into a clean bowl.
– Mix in the salt (the salt will help the veggies release their liquid brine)
– Massage the veggies until the liquid (brine) starts to be released. If the vegetables were too dry to begin with, you may need to add a small amount of salt water. Massaging breaks down the cell walls of the vegetables to release the brine so the veggies can be submerged under the liquid. This can take 5-10 mins.
– Once the brine is released, tightly pack cabbage into a clean fermenting jar, or ceramic crock using your fists or other packing tool (wood or plastic only, no metal). As you press the veggies down the liquid will rise up. The liquid brine will not completely cover the veggies because they will float, but it should be equal with the top of the veggies, add water if necessary.
– You can use a full cabbage leaf to cover the top of the veggies to make sure they stay submerged.
– Put lid on and then back off a tiny bit to allow the pressure to escape during the fermentation period. If you are using a towel as a lid, place towel over the mouth of the jar, and seal with a rubber band.
– If you are sealing the jar with a lid, it is important to release the pressure from the gases that will build up (to burp the jar) daily.
– The goal is to keep the minimum amount of oxygen from reaching the veggies so mold doesn’t develop. If a light amount of mold does develop at the surface skim it off and remove any discolored veggies. It is important not to let mold develop to the point that it can get down into the sauerkraut or other vegetables being fermented, if that happens, toss the batch.
– Leave jar in a dark place in a bowl (in case any liquid escapes) to ferment for 3-7 days. Longer means more beneficial probiotic activity. Start sampling the veggies after 3 days to see when they taste the way you want, some people like a light fermented taste, others like it tangier.
– Once it reaches the stage you like, place into a container, such as a tightly covered jar and put into the refrigerator. Make sure there’s ½ inch headroom and the brine covers the veggies (add clean water if needed). It can keep for months in the refrigerator.
*Tip
– If you are using a large crock, you can place a plate on top of the veggies, to keep the vegetables submerged.

